DIY Landscape Projects
By Luke Larson
Are you planning to tackle a DIY landscape project this spring? There are many ways to beautify your home and garden by adding landscape features. You can often save money by doing it yourself and the end result is usually very rewarding. However, if landscape construction is not something you do on a regular basis here are a few pro tips to consider for some of the most common projects:

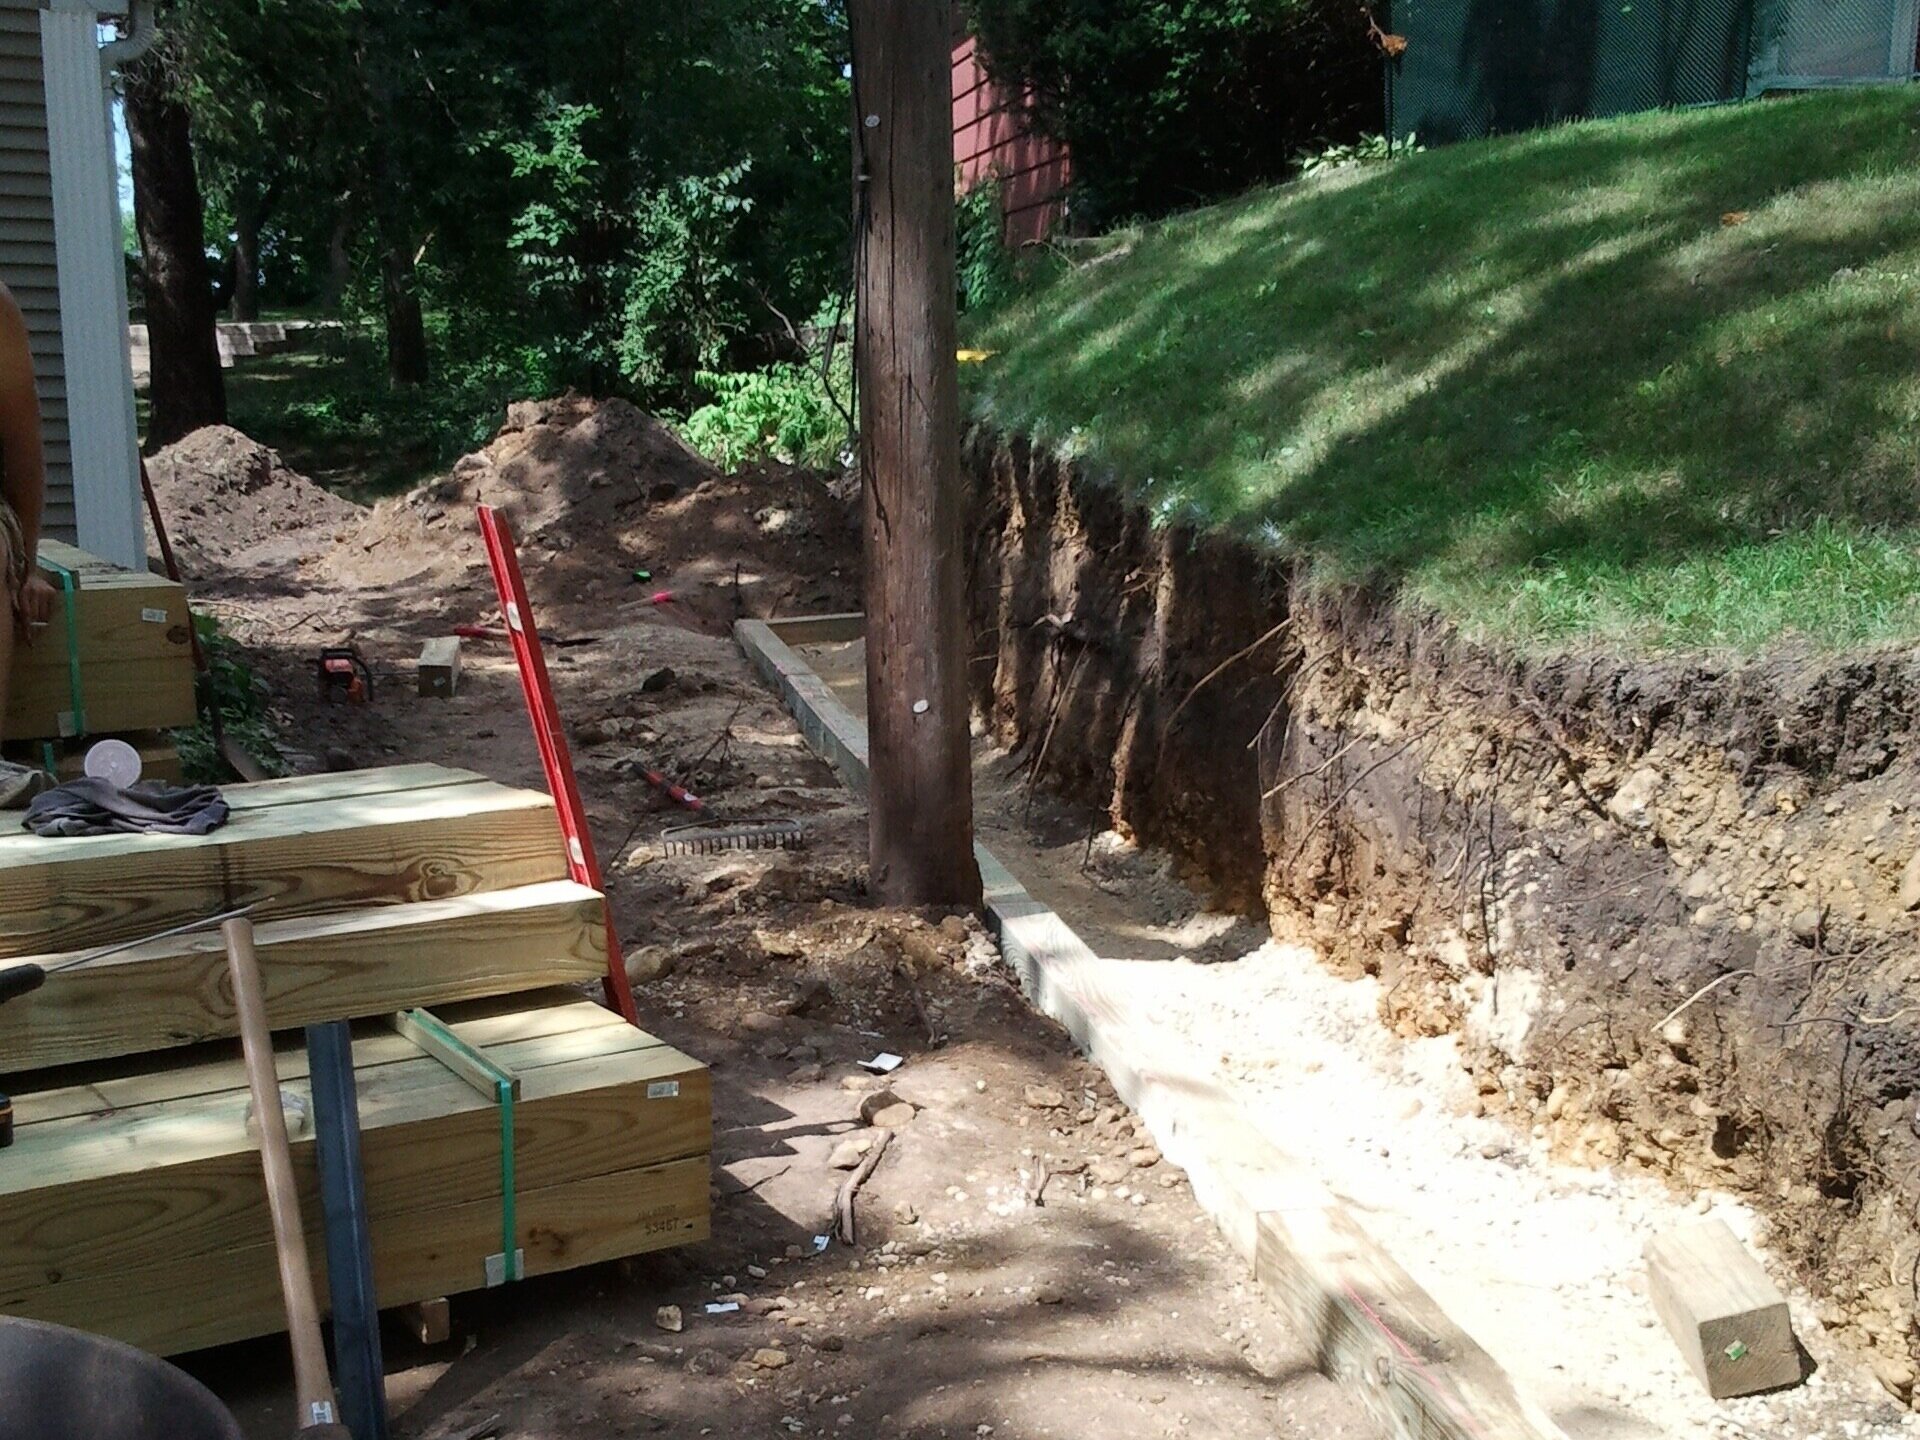

Timber Wall
Timber Walls are an excellent and affordable feature for containing sloped areas and adding character to your landscape. The materials are not overly expensive and depending on the size of the job, can be accomplished using mostly common garden tools. The weakness of timber walls is that over time they tend to lean and fall under constant pressure. Try these tips to keep your wall solid for years!
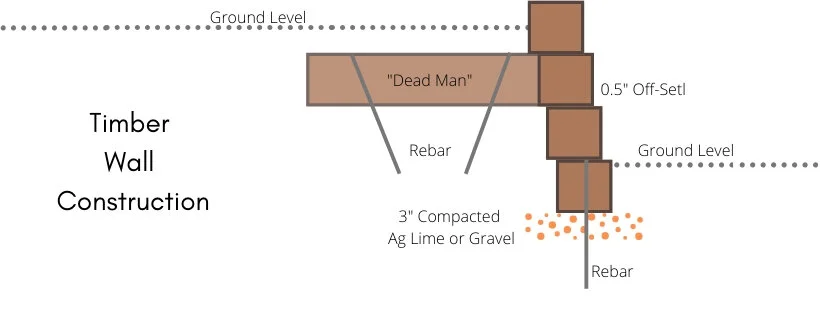
Bury the Bottom Row: The first row of any timber wall should be completely underground. This will anchor your wall to the ground. Depending on the slope of your selected site, one end of your wall may two or more rows underground. This is even better for stability!
Base Material: Always put 3” or more of compacted ag-lime or gravel under your bottom row. This will handle freeze and thaw movement much better than soil and is far easier to smooth out. (Use a 4’ level to ensure your bottom row will be as level as possible).
Use Rebar on the Bottom Row: You may use 1’ nails to put the rest of your wall together but it is a good idea to anchor your bottom row to the earth with 18-24" rebar.
Stagger Rows: Offset each row by .5” (more or less depending on the height of your wall and size of timbers used). This ensures that the wall leans back into the slope.
Use Dead Men: Not as scary as it sounds… For walls over 3 or 4 rows high, run a timber into the slope perpendicular to the wall and bury it. This really ties the wall to the slope and is your best bet against it leaning forward and tipping over.
Block Walls, Block Patios and Walks, Brick and Timber Edging
“It’s all about that base…” Many people are inclined to build on bare dirt or a light layer of sand. This is a big no-no! While the result may initially be satisfactory it will not last. As dirt freezes and thaws, it will push your project out of place and eventually destroy it.
Start With A Solid Base: Three inches or more of compacted ag-lime followed by 1” of leveled sand. The sand will allow you to lay and adjust your blocks or timbers easily.
Keep It Level: Use a 4’ level or straight board and drag across your ag lime and sand as you create your base, and then again as you lay your bricks/blocks. This will help to keep your site flat and even.
Bonus Tip: A very slight pitch downhill or away from your home is recommended to keep rainwater from pooling near your home or running somewhere you don’t want it!

Flagstone or Step Stone Walkway

These are very simple projects that can add tons of character to a garden or landscape. If you have a high traffic area that is hard to keep grass and is becoming a muddy mess, a simple step stone walkway is an easy, affordable solution!
Plan Ahead: Lay out your stones in advance of doing any work to the site. Walk on them and make sure the spacing is comfortable. If the spacing is too far apart, people will end up walking in-between stones or around them.
Base: Never lay your stones directly on the soil. A base of 2-3” of compacted ag-lime will keep your steps level and sturdy enough to handle the traffic.
Depth: Make sure that your final depth leaves part of the stone underground to hold it in place. If your site will have mulch or ground cover, make sure you leave enough height so that the stones do not become buried.
Hopefully this spring provides an opportunity to discover the joy of landscaping. Enjoy the outdoors while making the most of your yard and garden!